Documentation:Nightly:Registration:RegistrationLibrary:RegLib C21
From Slicer Wiki
Revision as of 15:11, 19 August 2013 by Meier (talk | contribs) (Created page with 'Back to Registration Library <br> = Slicer Registration Library Case #21: Align knee MRI of two different subjects = =…')
Home < Documentation:Nightly:Registration:RegistrationLibrary:RegLib C21
Contents
Slicer Registration Library Case #21: Align knee MRI of two different subjects
Input
|
lleft | 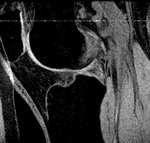
|
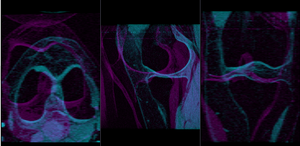
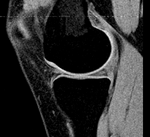
| fixed image/target MRI |
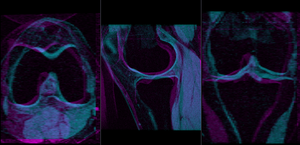
moving image MRI |
Modules used
Download (from NAMIC MIDAS)
Keywords
MRI, knee, inter-subject, nonrigid
Procedure
It is possible to perform all 3 steps of rigid, affine and BSpline registration in a single pass within the General Registration (BRAINS) module, but to better show/judge progress we perform each separately and feed the results of one the the next step. Hence we first run a rigid registration, then use that to compute an affine registration, and finally use the affine as starting point for a BSpline registration. For the last one we will need to generate a quick mask to prevent aliasing artifacts in the image from influencing the result. The masks are available in the download set.
- Compute Rigid Registration: open the General Registration (BRAINS) module
- Input Images: Fixed Image Volume: MRI_58
- 'Input Images: Moving Image Volume: MRI_64
- Output Settings:
- Slicer Linear Transform (create new transform, rename to: "Xf1_Rigid")
- Output Image Volume none (we need no resampled volume at this stage, only the transform)
- Registration Phases: select/check Rigid
- Main Parameters:
- increase Number Of Samples to 200,000
- Leave all other settings at default
- click: Apply; runtime < 1 min.
- check the result
- Place "MRI_58" in the background and "MRI_64" in the foreground
- switch to the Data module, locate the "MRI_64" node, and drag it onto the newly created "Xf1_Affine" node.
- fade between background and foreground to judge the alignment.
- for better visibility, you can change the colormaps of the two volumes, as used in the examples shown here. Switch to the [[Documentation/Nightly/Modules/Volumes|Volumes #Compute Affine Registration: return to the General Registration (BRAINS) module
- Input Images: Fixed Image Volume: MRI_58
- 'Input Images: Moving Image Volume: MRI_64
- Output Settings:
- Slicer Linear Transform (create new transform, rename to: "Xf2_Affine")
- Output Image Volume none (we need no resampled volume at this stage, only the transform)
- Initialization: for the Initialization transform select the "Xf1_Rigid" transform created above.
- Initialize Transform Mode: switch to Off
- Registration Phases: uncheck Rigid and select Rigid+Scale" and Affine only
- Main Parameters:
- leave Number Of Samples to 200,000
- Leave all other settings at default
- click: Apply; runtime < 1 min.
- check the result
- Place "MRI_58" in the background and "MRI_64" in the foreground
- switch to the Data module, locate the "MRI_64" node, and drag it onto the newly created "Xf1_Affine" node.
- fade between background and foreground to judge the alignment.
- for better visibility, you can change the colormaps of the two volumes, as used in the examples shown here. Switch to the Volumes module, select "MRI_58" and then select "Green" from the Lookup Table menu. Similarly select "Cyan" for "MRI_64".
- Apply transform to PET: We have now computed the registration transform, but we still need to apply this transform to the PET image. The preferred way to do this is without resampling the image, i.e. by applying the linear transform to the spatieal orientation information in the image header. You can of course also create a resampled version, like the MRI_Xf1 output volume produced above.
- Go to the Data module
- Find the original PET image, labeled as "PET"
- drag the "PET" node onto the transform node, labeled "Xf1_Affine". You should see a small + appear next to the transform node. When you click it you should see the "PET" image now residing inside the transform. If you have the PET image in one of the Slice views, it should show you now the aligned position of the PET image.
- apply the transform: right click on the "PET" image and from the pop-up menu, select Harden Transform. This will apply the transform without resampling and move it back to the main hierarchy level.
- double click on the PET node and rename it to something like "PET_registered" or "PET_XF1applied" 3etc. to document that this image has now a transform applied to it.
- Click on the Save icon and save the new "PET" image under a new name.
- Go to the Data module
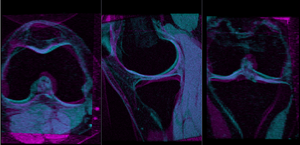
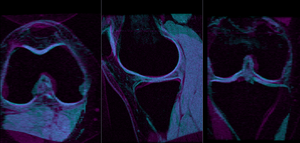
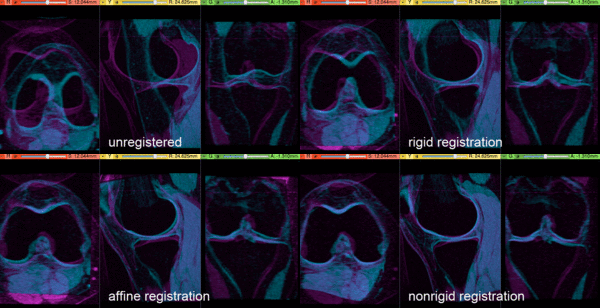
Registration Results
