Modules:FetchMI-Documentation-3.6
Return to Slicer 3.6 Documentation
Module Name
Fetch Medical Informatics (FetchMI)
General Information
Module Type & Category
Type: Interactive
Category: Informatics
Authors, Collaborators & Contact
- Author1: Wendy Plesniak
- Contributor1: Nicole Aucoin
- Contributor2: Steve Pieper
- Contact: Wendy Plesniak, wjp@bwh.harvard.edu
Module Description
FetchMI (Fetch Medical Informatics) is a 'sandbox' functionality being developed to remotely upload, download and tag Slicer scenes and datasets. Its functionality will eventually be moved into Slicer's base code (into the load and save panels) and into a separate module for data markup. Currently, FetchMI interoperates with XNAT Desktop's web services. Its functionality is being extended to work with BIRN's HID and XNAT Enterprise web services.
The module can be used to browse remote repositories for data, download MRML scenes into Slicer, associate metadata with loaded data and the scene description, and upload a scene and its referenced data to a remote host. The interface also permits remote deleting of MRML scenes and their referenced resources.
In this version, individual datasets can only be uploaded and downloaded indirectly, as part of a MRML scene description file.
Each upload to a remote host creates a new footprint on that host -- uploading a scene and its data a second time will not overwrite the first upload, but will instead create new versions of everything. New tags or a new scene name can be used to clarify their difference in subsequent queries for data.
The module is a new offering within Slicer, and has not yet been widely tested. Please help us to improve it by reporting any unexpected behavior to Slicer's bug tracker.
Usage
Required software & Tutorials
Two XNAT Desktop servers are referenced by default in FetchMI: http://xnd.slicer.org and http://localhost. No additional software is required to transact with the xnd.slicer.org server option. To use the http://localhost server on port 8081, the XNAT Desktop software must be downloaded and installed, and the web service for the local instance must be running when you try to transact with it. The following links provide information on where to go and how to install the software.
- XNAT Desktop technical specification
- Download XNAT Desktop Version 0.8
- XNAT Desktop Installation and Tutorial
- Using XNAT Desktop with XNAT Enterprise
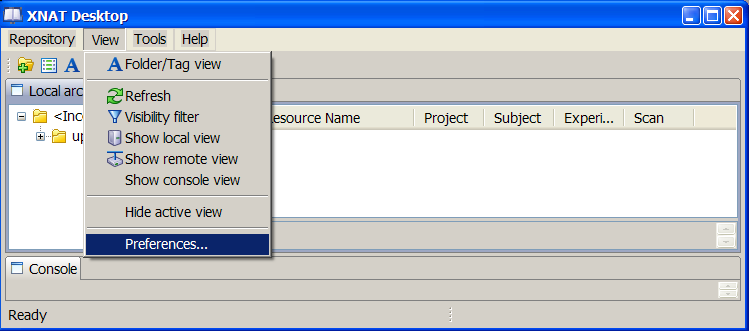
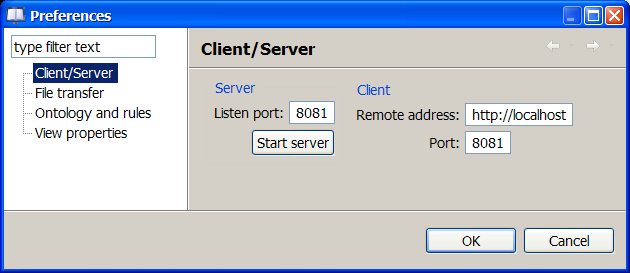
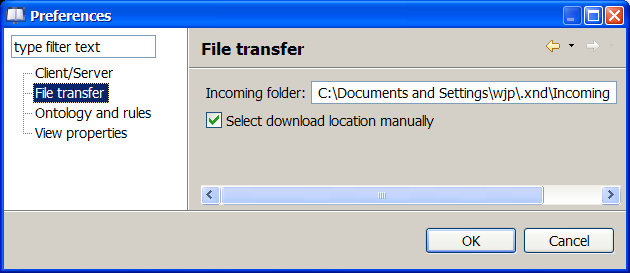
Once the software has been installed, to start webservices on the local instance of XNAT Desktop, start XNAT Desktop on your local machine and select View->Preferences->Client/Server: Start server button.
If the button text says Stop server, then webservices are already running and nothing else need be done. Here, the upload directory should also be set; this will be the destination for any files you upload to the local instance of your server.
Brief instruction
- Select a server. All subsequent operations will transact with the selected server.
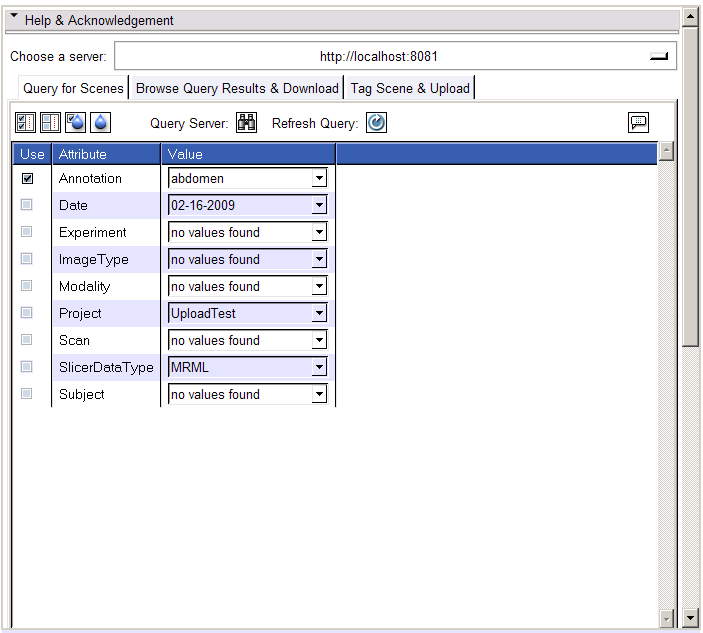
- The selected server will automatically be queried for the metadata it currently supports. The panel in the Query for Scenes tab will be populated with this metadata (attributes and available values). Update this panel time by clicking the Refresh button.
- Select any tags you want to use to query for resources
- Click the Search button (binoculars) to query the server for matching resources.
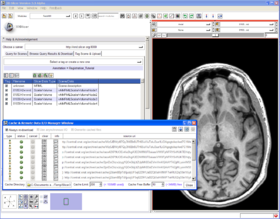
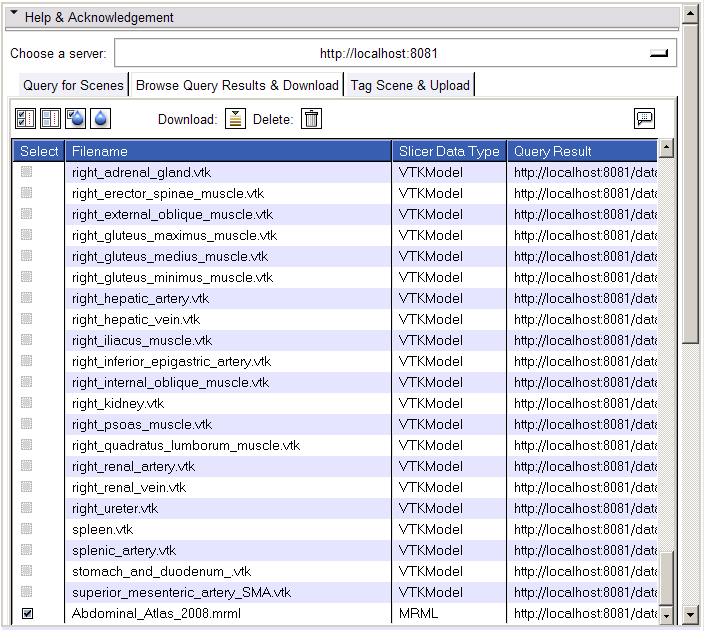
- The Browse Query Results & Download tab will be populated by a list of resources matching the query.
- Select a resource (MRML Scenes only) from that list.
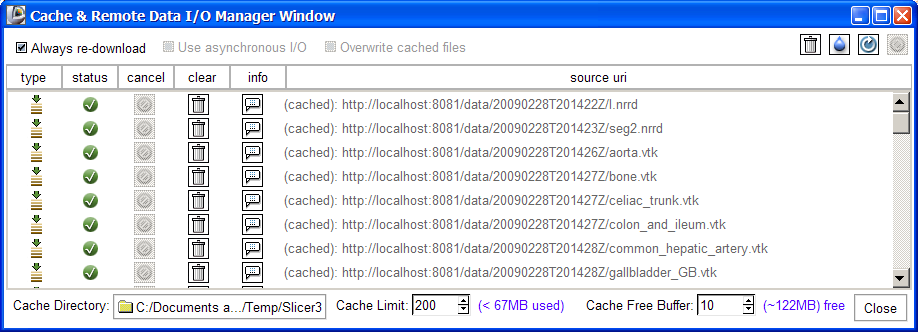
- Click the Download button and the scene will be downloaded to your current cache directory and loaded.
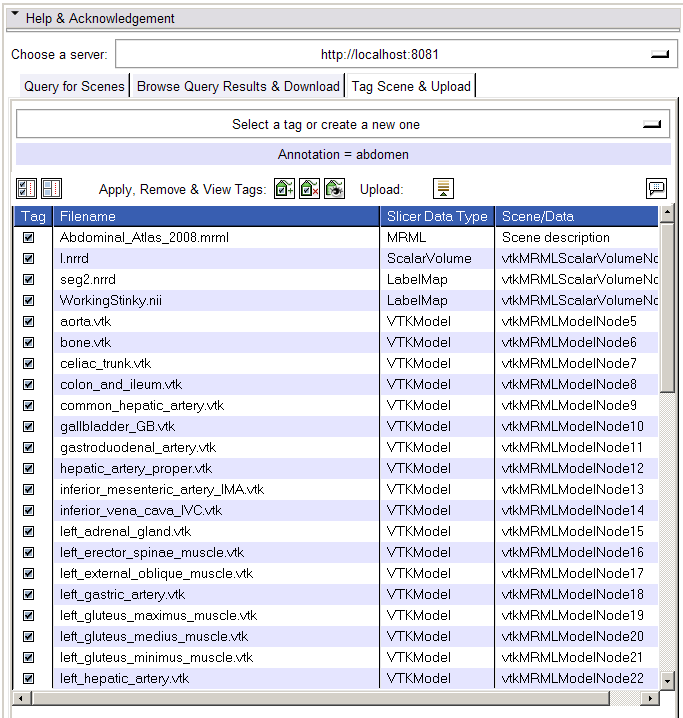
- The Tag Scene & Upload tab shows all data in scene (and scene file).
- Select or create new tags using the menubutton at the top of this panel, and click the Apply Tags button to associate to selected datasets. Click the Remove Tags button to dissociate selected tag from selected datasets.
- NOTE: tags should be brief. At this time, tags CANNOT include SPACES or any special characters; we will admit these options in future development.
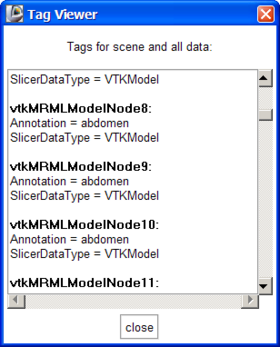
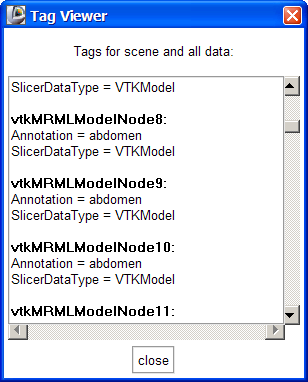
- Click the Show All Tags button to see all tags on all loaded datasets and scene.
- Upload the current scene to the server by clicking the Upload button, after data is tagged. In this version, the entire scene and all datasets are uploaded.
- NOTE: remote uploads and downloads can be slow. Though we have attempted to construct safeguards, Initiating these without access to the network or without access to the selected server may still lead to unexpected application behavior. Please report any unexpected behavior to Slicer's bug tracker.
Quick Tour of Features and Use
Below is a tour of interfaces to FetchMI's functionality, with explanatory information and suggestions for use:
- Select a web service:
The first thing to do is to select a web service. FetchMI provides two by default. Use
http://localhost:8081
if you have installed an instance of XNAT Desktop on your local machine. If not, you can query and download from
http://xnd.slicer.org.
As soon as you select the server, Slicer will query it for a list of all metadata on the resources managed by that service. FetchMI's query panel will be populated by the query response.
- Query for Scenes tab:
Once the Query panel has been populated, values for keywords can be selected, and tags can be selected and used to query the server for matching resources. The functionality represented by the icons is described below. Importantly, clear all and clear selected do not operate on the server itself; they just modify the display of those tags in the query panel.
- Browse Query Results & Download tab:
- Tag Scene & Upload tab:
Development
Dependencies
XNAT Desktop is required for basic use. See above for information on downloading and installing the software.
Known bugs
FetchMI is a new and developing module -- please help us by reporting any bugs you encounter. Follow this link to the Slicer3 bug tracker.
Usability issues
Follow this link to the Slicer3 bug tracker. Please select the usability issue category when browsing or contributing.
Source code & documentation
Customize following links for your module.
Links to documentation generated by doxygen.
Technical information
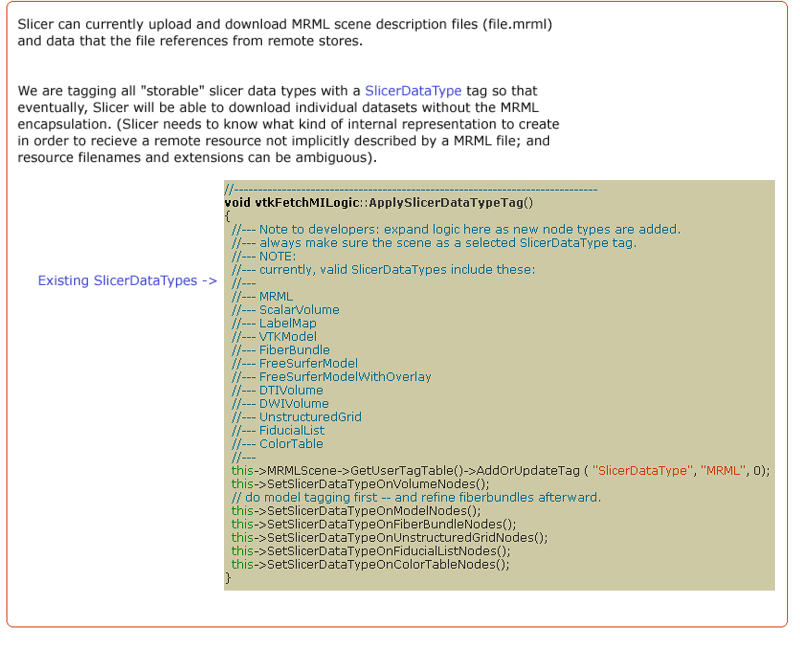
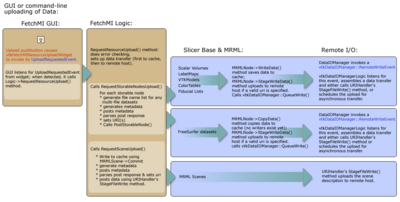
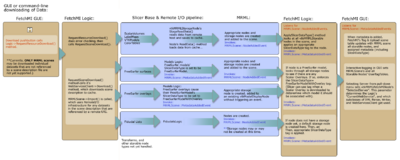
The following schematics show how the current implementation handles upload, download and readying datasets for use in the informatics framework, once they are loaded into Slicer. The current implementation has had to account for differences in how nodes are created, data is read into them, and how data is saved. Note; transforms are not yet supported, and DWI/DTI Volumes have not been tested.
Upload & Download pipelines as of 01/04/2010
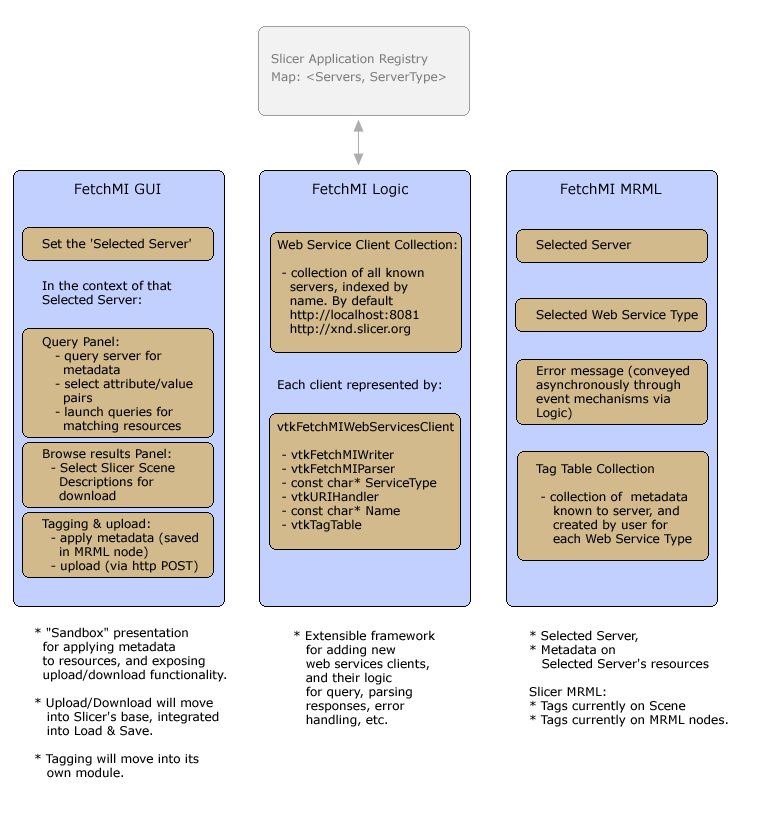
The following schematic shows FetchMI's informatics framework. The functionality to restore added web servers from the application's registry is not yet implemented.
Architecture as of 01/04/2010
More Information
Acknowledgment
This work was supported by NA-MIC, NAC, BIRN, NCIGT, CTSC and the Slicer Community. See http://www.slicer.org for details.

