Difference between revisions of "Documentation/Nightly/Modules/FastGrowCut"
Liangjiazhu (talk | contribs) (Created page with '<noinclude>{{documentation/versioncheck}}</noinclude> <!-- ---------------------------- --> {{documentation/{{documentation/version}}/module-header}} <!-- -----------------------…') |
Liangjiazhu (talk | contribs) |
||
| Line 20: | Line 20: | ||
Author: Yi Gao, University of Alabama Birmingham<br> | Author: Yi Gao, University of Alabama Birmingham<br> | ||
Author: Peter Karasev, Georgia Institute of Technology<br> | Author: Peter Karasev, Georgia Institute of Technology<br> | ||
| − | |||
Author: Allen Tannenbaum, Stony Brook University<br> | Author: Allen Tannenbaum, Stony Brook University<br> | ||
| − | |||
| − | |||
<!--Contributor2: FIRSTNAME LASTNAME, AFFILIATION<br> --> | <!--Contributor2: FIRSTNAME LASTNAME, AFFILIATION<br> --> | ||
<!--Contact: FIRSTNAME LASTNAME, <email>john@doe.org</email><br> --> | <!--Contact: FIRSTNAME LASTNAME, <email>john@doe.org</email><br> --> | ||
Revision as of 17:09, 18 April 2014
Home < Documentation < Nightly < Modules < FastGrowCut
|
For the latest Slicer documentation, visit the read-the-docs. |
Introduction and Acknowledgements
|
This work is part of the National Alliance for Medical Image Computing (NA-MIC), funded by the National Institutes of Health through the NIH Roadmap for Medical Research, Grant U54 EB005149. Information on NA-MIC can be obtained from the NA-MIC website. Author: Liangjia Zhu, Stony Brook University |
|
|
Module Description
This is a fast implementation of the GrowCut method. It supports multi-label segmentation and user online interactions. Please see the references below for more details.
Tutorials
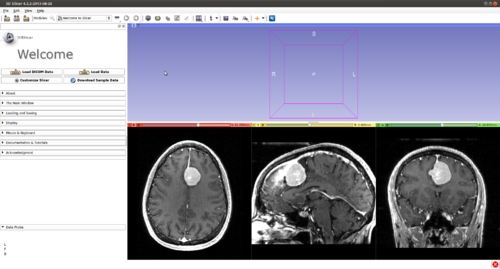
Step 1.) Add data volume to segment
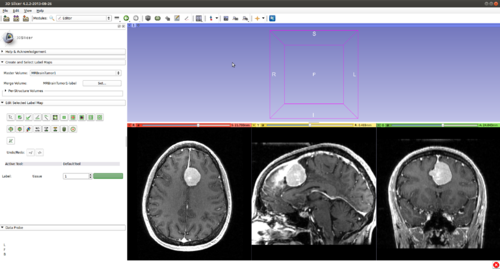
Step 2.) Go to the “Editor” module, select the volume loaded in Step 1 as the “Master Volume” in the “Create and Select Label Maps” drop-down menu
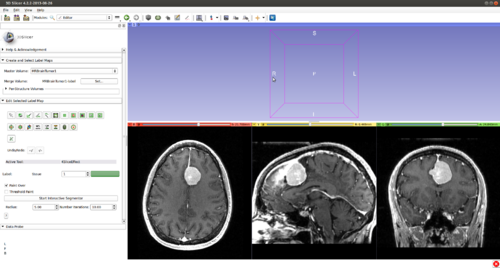
Step 3.) Select the “CarreraSlice” effect in the “Edit Selected Label Map” drop-down menu
Step 4.) Set the “Radius” parameter, the "Number of Iterations" and press the “Start Interactive Segmentor” button ( CarreraSlice is now running in the background until the “Stop Interactive Segmentor” button is pressed)
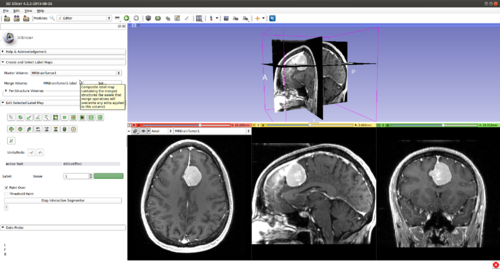
Step 5.) Turn “On” all three slice views in the 3D Plane
Step 6.) Initialize the segmentation using fast GrowCut
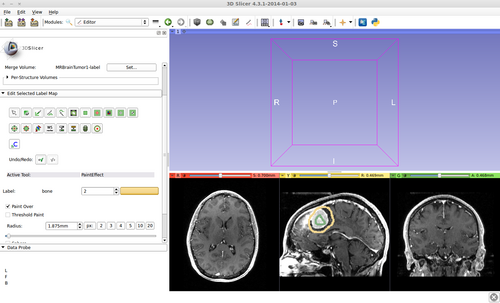
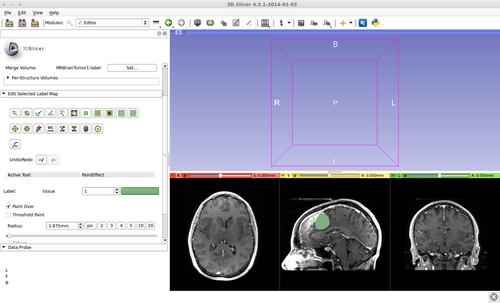
- (a) go to PaintEffect to draw seed regions (label 1 for foreground and 2 for background), then press 'G' to run fast GrowCut.
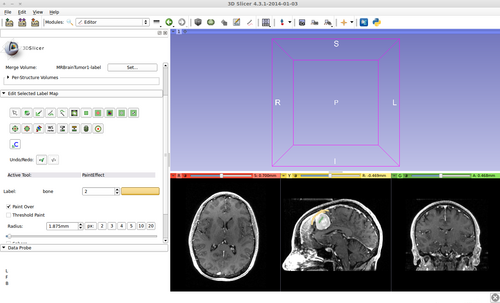
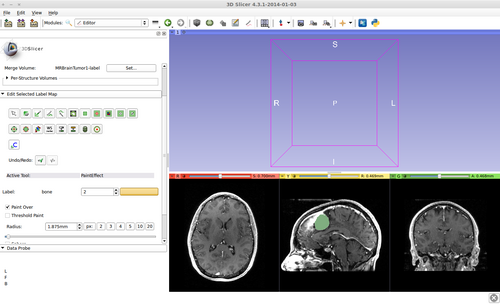
- (b) If not satified, press 'S' to toggle between seed image and segmentation result. Edit on the seed image to reduce over/under segmentaions.
- (c) Once finished editing on the seed image, press 'G' to run fast GrowCut again.
The steps 6 (b) and (c) may be repeated a couple of times until satisfied.
Step 7.) Once satisfied with the initialization, press 'M' to start KSlice interactive segmentation. The energy functionals available are:
- (a) press 'F' for local-global Chan-Vese segmentation
- (b) press 'U' for mean curvature smoothing
- (c) press 'E' for Chan-Vese segmentation
