Difference between revisions of "Documentation/Nightly/Extensions/SlicerPathology"
From Slicer Wiki
m |
m |
||
| Line 31: | Line 31: | ||
<!-- ---------------------------- --> | <!-- ---------------------------- --> | ||
{{documentation/{{documentation/version}}/module-section|Tutorials}} | {{documentation/{{documentation/version}}/module-section|Tutorials}} | ||
| − | + | {| | |
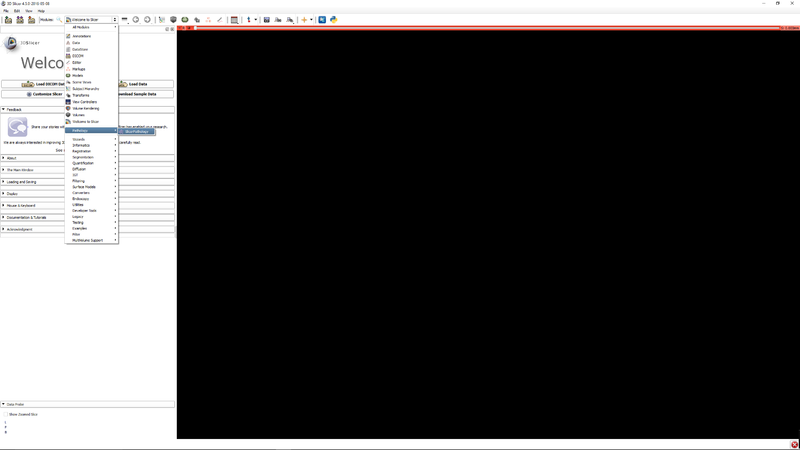
| − | [[File:SlicerPathologyScreenShot2.png | + | |[[File:SlicerPathologyScreenShot2.png|thumb|800px|Step 1 - Go to the SlicerPathology Extension.]] |
| − | + | |} | |
| − | [[File:SlicerPathologyScreenShot3.png | + | {| |
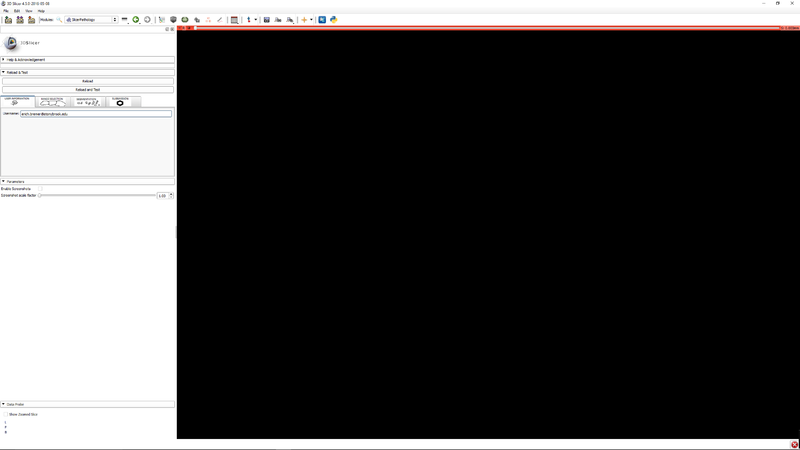
| − | [[File:SlicerPathologyScreenShot4.png | + | |[[File:SlicerPathologyScreenShot3.png|thumb|800px|Step 2 - Click the user information tab. Enter your email address. This is used for identification of you in the file data files.]] |
| − | [[File:SlicerPathologyScreenShot5.png | + | |} |
| − | [[File:SlicerPathologyScreenShot6.png | + | {| |
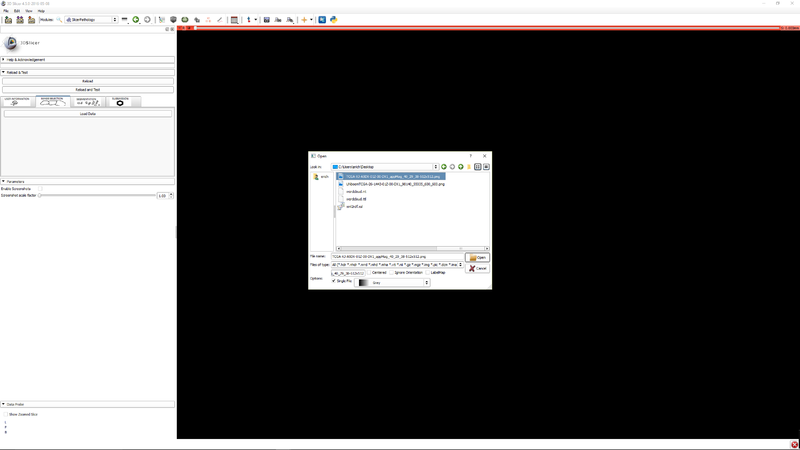
| − | [[File:SlicerPathologyScreenShot7.png | + | |[[File:SlicerPathologyScreenShot4.png|thumb|800px|Step 3 - Click "Load data" to select an image.]] |
| − | [[File:SlicerPathologyScreenShot8.png | + | |} |
| − | + | {| | |
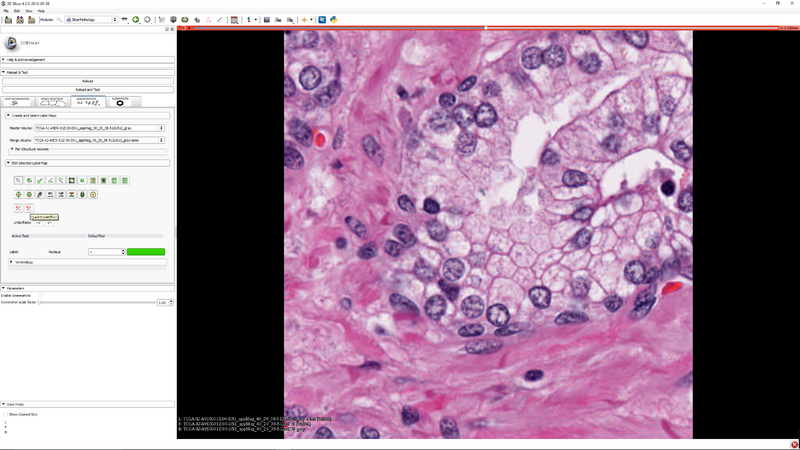
| − | [[File: | + | |[[File:SlicerPathologyScreenShot5.png|thumb|800px|Step 4 - Click the button Quick TCGA Effect button to activate the effect.]] |
| − | + | |} | |
| − | + | {| | |
| − | + | |[[File:SlicerPathologyScreenShot6.png|thumb|800px|Step 5 - Click "Start TCGA Segmenter and adjust the five segmentation algorithm parameters as needed.]] | |
| − | + | |} | |
| − | Click | + | {| |
| − | + | |[[File:SlicerPathologyScreenShot7.png|thumb|800px|Step 6 - you can select a subregion to speed up the parameter tuning process. Press "Y" to execute the segmenter on the subregion (if it was selected) or the whole image]] | |
| − | + | |} | |
| − | + | {| | |
| − | + | |[[File:SlicerPathologyScreenShot8.png|thumb|800px|Step 7 - you can click "Clear Selection" to clear the selected sub-region so that the segmenter operates on the whole image.]] | |
| − | + | |} | |
| − | + | {| | |
| + | |[[File:SlicerPathologyScreenShot9.png|thumb|800px|Step 8 - "Click the "Submission" tab so that you can save your label masks and related meta data. (meta data will be stored as JSON)]] | ||
| + | |} | ||
<!-- ---------------------------- --> | <!-- ---------------------------- --> | ||
{{documentation/{{documentation/version}}/module-section|Panels and their use}} | {{documentation/{{documentation/version}}/module-section|Panels and their use}} | ||
Revision as of 13:43, 13 May 2016
Home < Documentation < Nightly < Extensions < SlicerPathology
|
For the latest Slicer documentation, visit the read-the-docs. |
Introduction and Acknowledgements
|
Extension: SlicerPathology Contributor 1: Yi Gao |
Module Description
| Section under construction. |
Use Cases
| Section under construction. |
Tutorials
Panels and their use
| Section under construction. |
References
Information for Developers
| Section under construction. |


