Difference between revisions of "Documentation:Nightly:Registration:RegistrationLibrary:RegLib C02"
From Slicer Wiki
(→Input) |
|||
| Line 4: | Line 4: | ||
{| style="color:#bbbbbb; " cellpadding="10" cellspacing="0" border="0" | {| style="color:#bbbbbb; " cellpadding="10" cellspacing="0" border="0" | ||
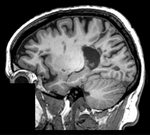
|[[Image:RegLib_C02_Thumb1.png|150px|left|this is the fixed MRI reference image. All images are aligned into this space]] | |[[Image:RegLib_C02_Thumb1.png|150px|left|this is the fixed MRI reference image. All images are aligned into this space]] | ||
| − | |[[Image: | + | |[[Image:RegArrow_Affine.png|100px|left]] |
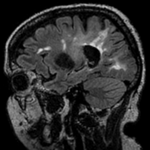
|[[Image:RegLib_C02_Thumb2.png|150px|left|this is the moving image, to be aligned with the reference on the left]] | |[[Image:RegLib_C02_Thumb2.png|150px|left|this is the moving image, to be aligned with the reference on the left]] | ||
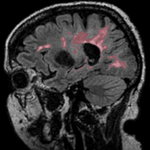
|[[Image:RegLib_C02_Thumb3.png|150px|left|this is a segmentation labelmap in the same space as the moving image. To be registered also]] | |[[Image:RegLib_C02_Thumb3.png|150px|left|this is a segmentation labelmap in the same space as the moving image. To be registered also]] | ||
Revision as of 14:12, 20 August 2013
Home < Documentation:Nightly:Registration:RegistrationLibrary:RegLib C02Contents
Slicer Registration Library Case #2: Multi contrast MRI + segmentation labelmap
Input
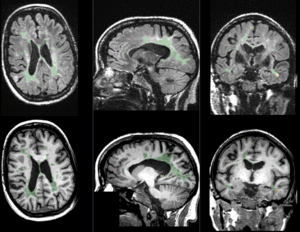
| fixed image 1/target MRI T1 |
moving image 2a MRI FLAIR |
moving image 2b segmentation labelmap |
Objective / Background
Goal is to align the FLAIR image and its segmentation labelmap with the structural reference T1 scan.
Modules used
Download (from NAMIC MIDAS)
Why 2 sets of files? The "input data" mrb includes only the unregistered data to try the method yourself from start to finish. The full dataset includes intermediate files and results (transforms, resampled images etc.). If you use the full dataset we recommend to choose different names for the images/results you create yourself to distinguish the old data from the new one you generated yourself.
- RegLib_C02.mrb: input data only, use this to run the tutorial from the start (Slicer mrb file. 19 MB).
- RegLib_C02_full.mrb: includes raw data + all solutions and intermediate files, use to browse/verify (Slicer mrb file. 30 MB).
Keywords
MRI, brain, head, intra-subject, labelmap
Video Screencasts
Procedure
- Compute Registration: open the General Registration (BRAINS) module
- Input Images: Fixed Image Volume: T1
- 'Input Images: Moving Image Volume: FLAIR
- Output Settings:
- Slicer Linear Transform (create new transform, rename to: "Xf1_Affine")
- Output Image Volume none. No resampling required for linear transforms
- Registration Phases: select/check Rigid , Rigid+Scale, Affine
- Main Parameters:
- increase Number Of Samples to 200,000
- Leave all other settings at default
- click: Apply; runtime < 1 min.
- Align LabelmapI: We have now computed the registration transform. To reorient both FLAIR and its label map, we place both volumes inside the transform.
- Place "T1" in the background and "FLAIR" in the foreground. Select "LesionSeg" as the labelmap to display.
- Go to the Data module
- the "FLAIR" image should already be placed within the transform "Xf1_Affine", that was done by the registration module. If not, left click on the "FLAIR" node and drag it onto the "Xf1_Affine" node. You will see a "+" sign appear indicating that the image is placed within the transform.
- Do the same for the "LesionSeg" node, i.e. drag it into the "Xf1_Affine" transform.
Registration Results
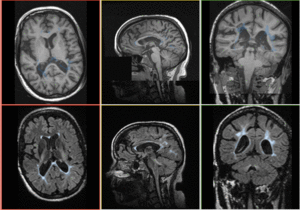 |
baseline & T2 before registration (click to enlarge) |
 |
baseline to T2 after affine+nonrigid alignment (click to enlarge) |
